
Don’t you love the show,
“How It’s Made”? So do we! Here's the Tin Cup version--read on to see how stainless steel goes from “simple” to “spiffed up” Tin
Cups!
As we walk into the
expansive building where Tin Cups are made, we make our first stop in the
computer room. This is where the cutters
use software to translate your image into computer language, so it can be
“drawn” by machinery. We want your
design just right, so sometimes there are several "back-and-forths" to
make sure your design will both fit on the Tin Cup and be large enough so that
you can fill it in with a sharpie. Once
we’ve perfected the computerized design, the design gets sent to a laser
cutter.
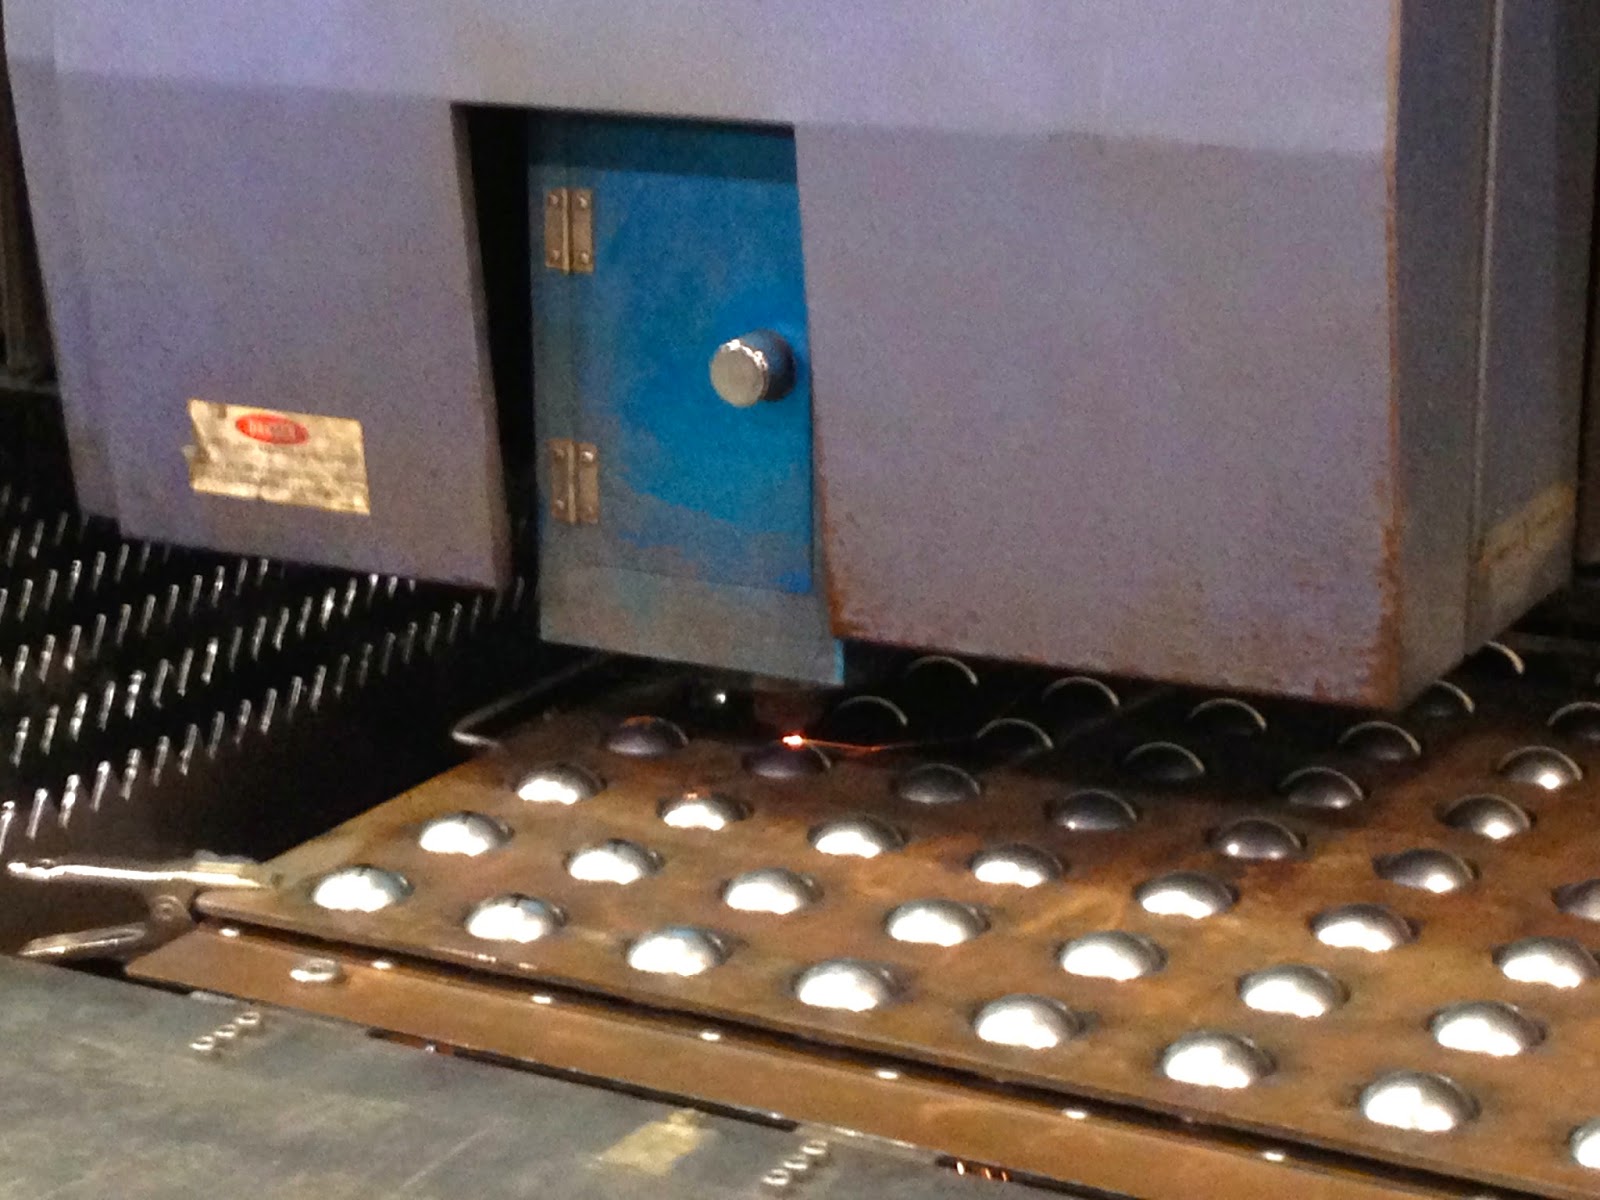
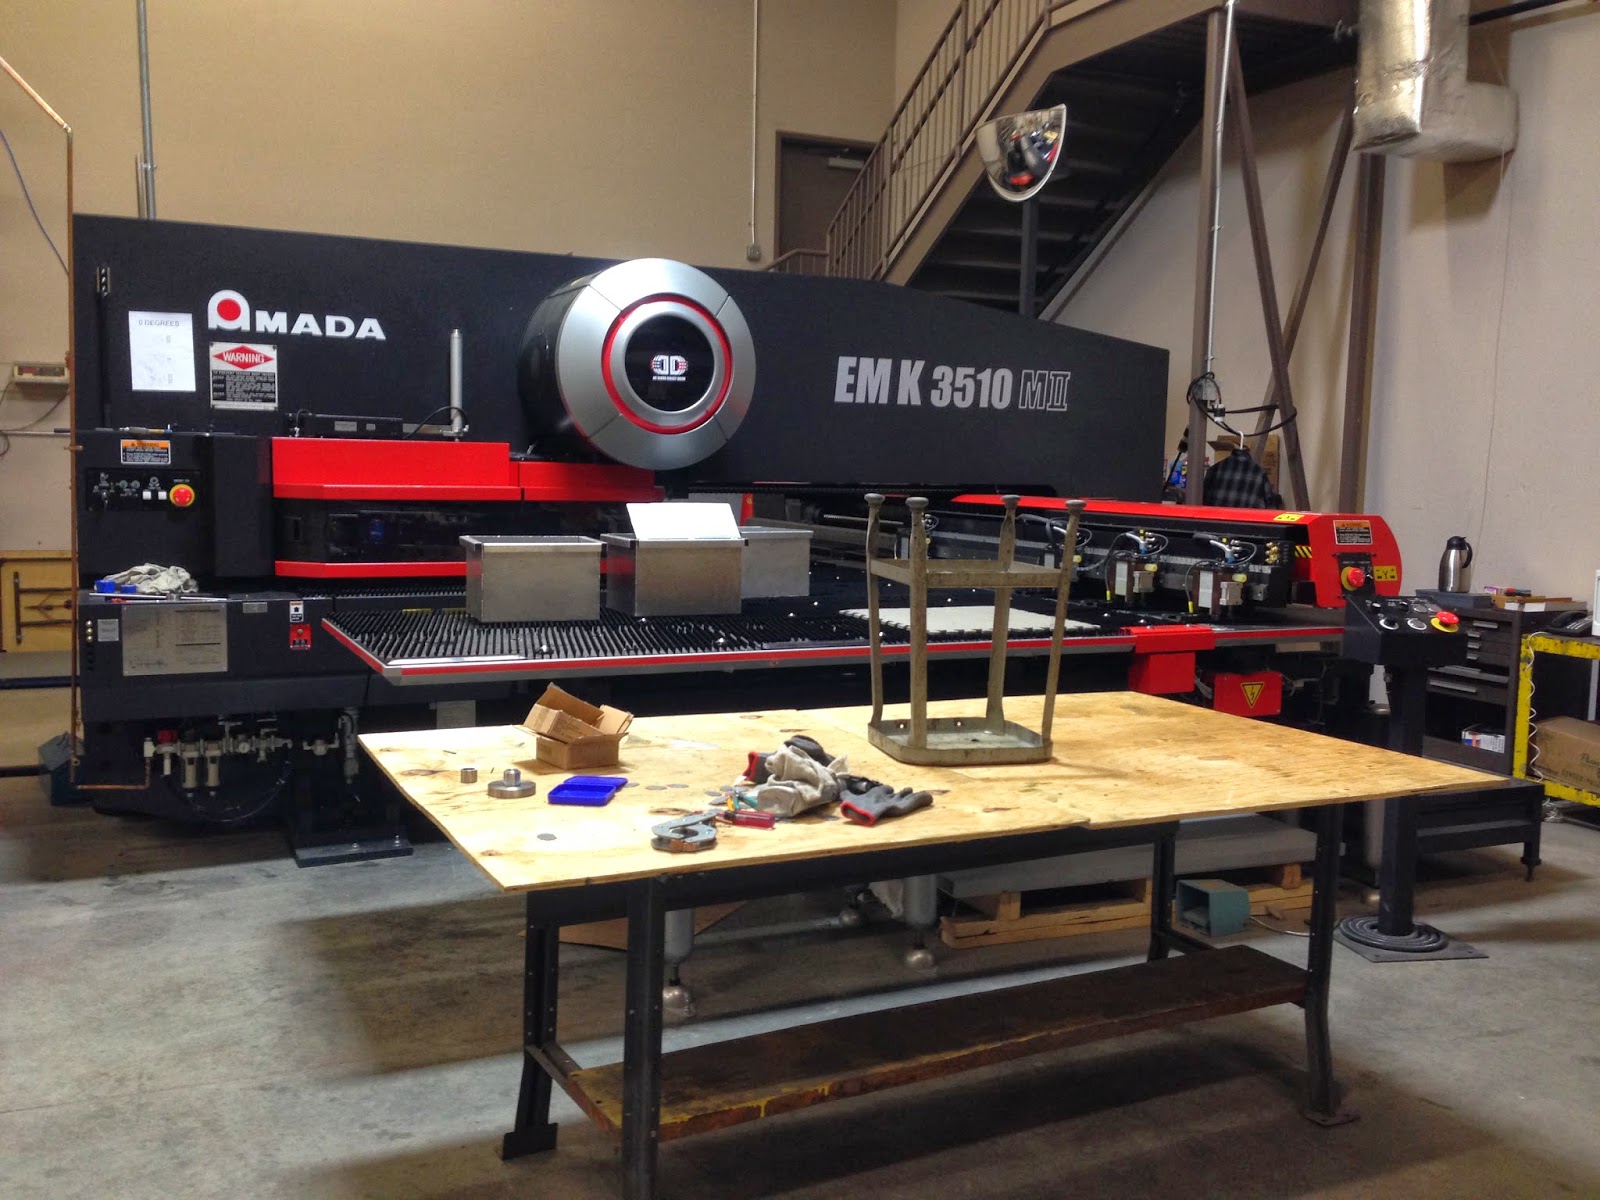
So now to the fun part,
we venture into the warehouse where the large machinery, including the laser
cutters run, and we hear the comforting clank of industry. The staff place 64 plain round steel Tin Cups into a
tray and the tray is then slid under the laser cutter. We see sparks fly as the laser cuts each and
every Tin Cup design out of the stainless steel. The cutter cuts 64 Tin Cups in about 15
minutes.

The buffer contains
ceramic pellets that polish around 300 Tin Cups for 10 minutes. Then the polished Tin
Cups are placed in a bucket, like a bunch of clams.

The Tin Cups are then
dunked into water to clean them of any leftover debris and soap.

The
cups are then dried to 259 degrees, and then the holes are punched.
Here is the hole punching machine.
Voila! Your Tin Cup is then shipped to our main
office in Falls Church, Virginia, where they are personally packed and shipped
by Jack and Corey.
The
Tin Cups we saw today were specially designed and approved by the PGA of
America. Here is the finished product:

